The FABULOUS Miss Ginger Grant!

The FABULOUS Miss Ginger Grant!
Click here to dig through my stuff!

Miss Ginger's FABULOUS Things!

NEW!!! Visit my online store for your chance to buy all things Ginger!

Search Miss Ginger's FABULOUS World!

Custom Search

Translate

Tuesday, December 17, 2013

Happy Holidays from Miss Ginger and the Kitties!

This might just be the cutest Holiday commercial ever recorded! Sorta makes Miss Ginger wish the stuff at Chico's would fit her largesse frame! 

Sunday, December 8, 2013

Craftroom QuickTip®: Glitter and Be Gay!

Who doesn't love glitter?! It adds sparkle and shine to just about anything you can imagine, and come to think of it, a few things you can't imagine. Contained, as it is here in the glass shakers from the restaurant supply store, it's a sight to behold. When it runs amok, however, it can quickly tarnish our moods! 

Why can't someone invent a way to keep glitter in place, so it doesn't flake off of our projects and stick in every crack in our homes?  What if Miss Ginger told you there IS such a product, and you may even have some in your broom closet right now! 


Pledge Floor Care Multi-Surface Finish. Back in the 70's, this stuff was called "Future Acrylic Floor Finish" and came in a futuristic clear bottle. Since then, the folks at Johnson Wax have rolled it into the "Pledge" nameplate, and have changed the package since Miss G last bought it! It no longer says "Future" anywhere on the bottle, nor does it say "acrylic." But it does use the word "finish," which is what you want to look for. If it says "cleaner" it's not the right product! It will come in a clear bottle, and the liquid is crystal clear. Get the one for multi-surfaces, not the one for wood floors.

This stuff will seal glitter onto your project with a death grip, and unlike that hodgepodge stuff that the craft store sells, it won't dull the sparkle of your glitter- if anything, it enhances it. And once you seal it with this stuff, it's not going anywhere! 


After the glue under your glitter has dried completely, just brush it on and let it dry. It's that easy! It goes on so crystal clear that it's hard to tell where you've brushed it, so brush it on methodically so you cover every square inch. It's really runny, like water, so it goes a long way! Just flow it on generously with a brush, and when it dries, that glitter won't go anywhere! 


What about the glitter that got loose before you sealed it down? You've swept, you;ve vacuumed, you've mopped… and still, it has a death grip on your floor! How do you get it up?  This guy:


The same lint roller that you use to get cat hair off your suit will get those last stubborn flakes of glitter up from just about any surface!  

Try these tips next time you need to make something sparkle, and let us know how they work for you!!! 

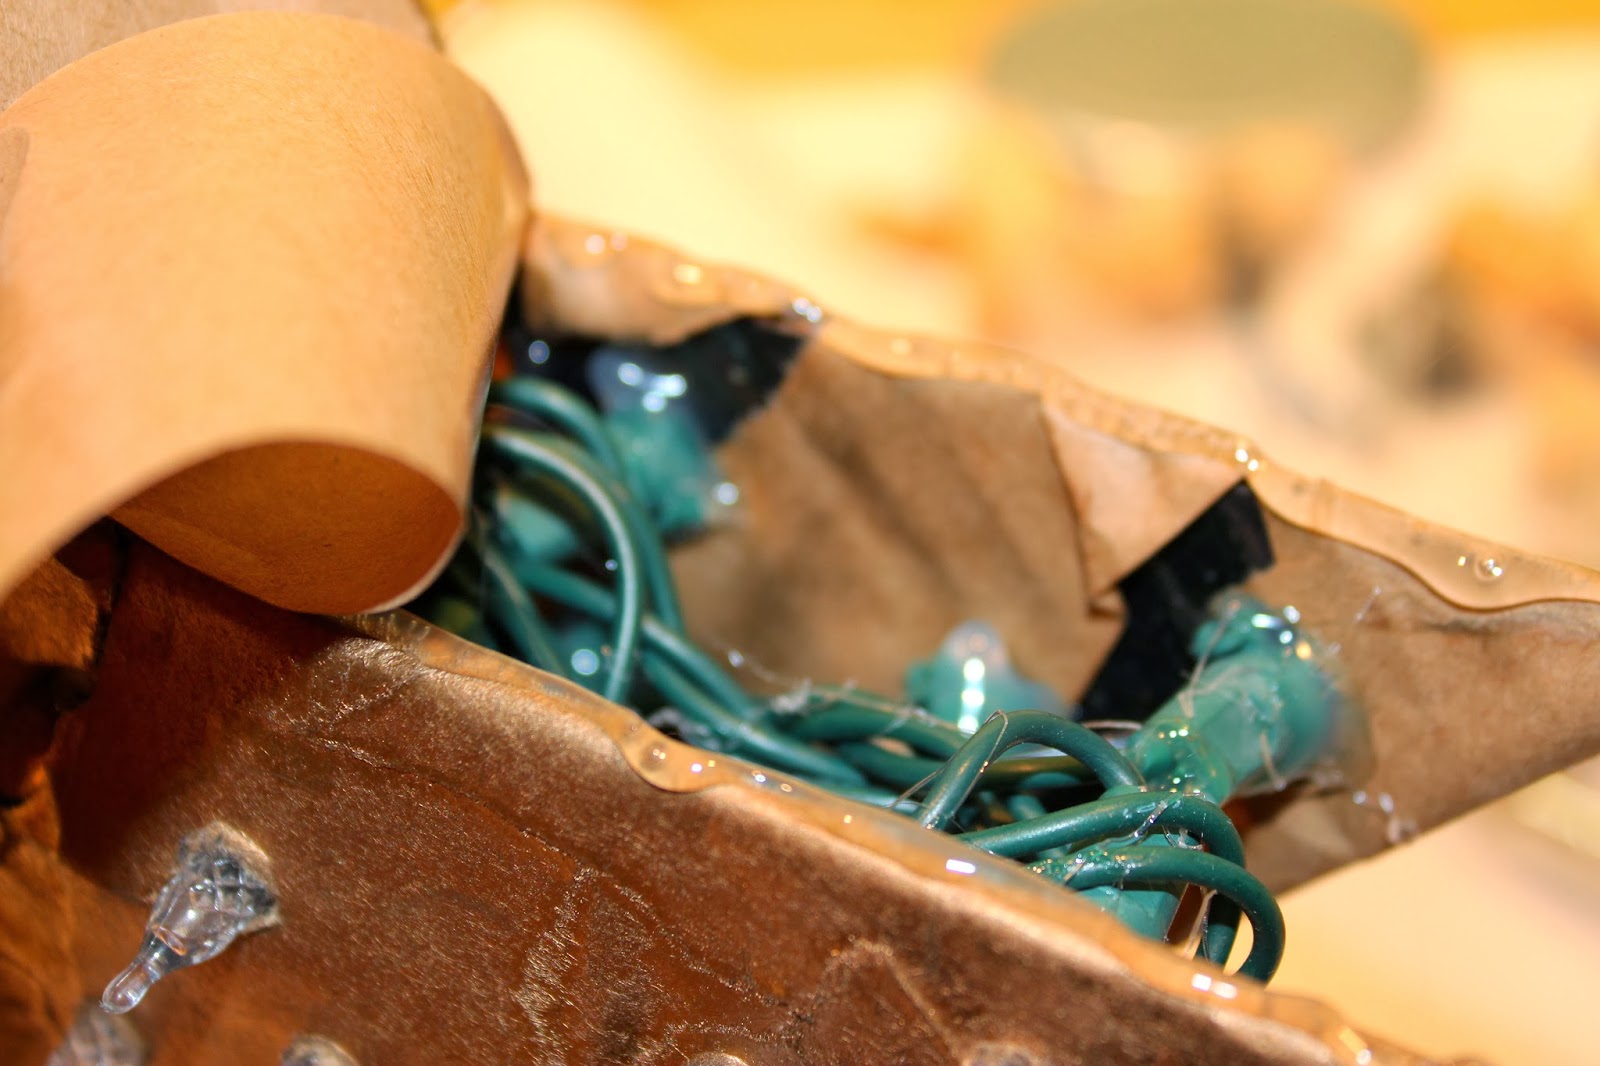
Lighted Star Tree Topper

Whether you deck your halls with a Christmas Tree, a Chanukah Bush, a Kwanzaa Shrub or a Festivus Pole, you're going to need something to finish off the top and make it look festive! Problem is, so many of the tree toppers you see in stores are flimsy plastic things covered in tacky tinsel- certainly not in fitting with Miss Ginger's fabulous themes! So, our girl set out to make her own tree topper, and though it was a bumpy road, she is pretty pleased with the results! 
It started off easily enough, with a vinyl stencil to cut the star shape out of corrugated board. 
She used a stacked star design to give dimension and stability, and held the layers in place with spray adhesive.
Next, she used brown kraft tape and water in a process she calls "taper mache."  For this, you will need old-fashioned brown paper tape with water activated adhesive. It used to be the industry standard in shipping departments, but now it's kind of hard to find, but worth the hunt. You need the kind without any reinforcement fibers or other modern additives to make it stronger… you want the kind that is just brown paper with slick, dry adhesive on one side that becomes slimy-wet in water.
Using small pieces of tape dipped in water, Miss Ginger began covering the skeletons with tape. Because the tape is already in strips, the process is so much easier than regular paper mache, and much less messy since you don't need wallpaper paste!
Another advantage to using tape vs. wallpaper past and newsprint is that the tape will not attract bugs over the years, whereas some wallpaper pastes contain wheat, which bugs like to eat! It just takes a few minutes for Miss Ginger to cover both stars. 
You can let them dry overnight, or put them in a warm oven (about 180 degrees) for about 30 minutes to dry them completely. 

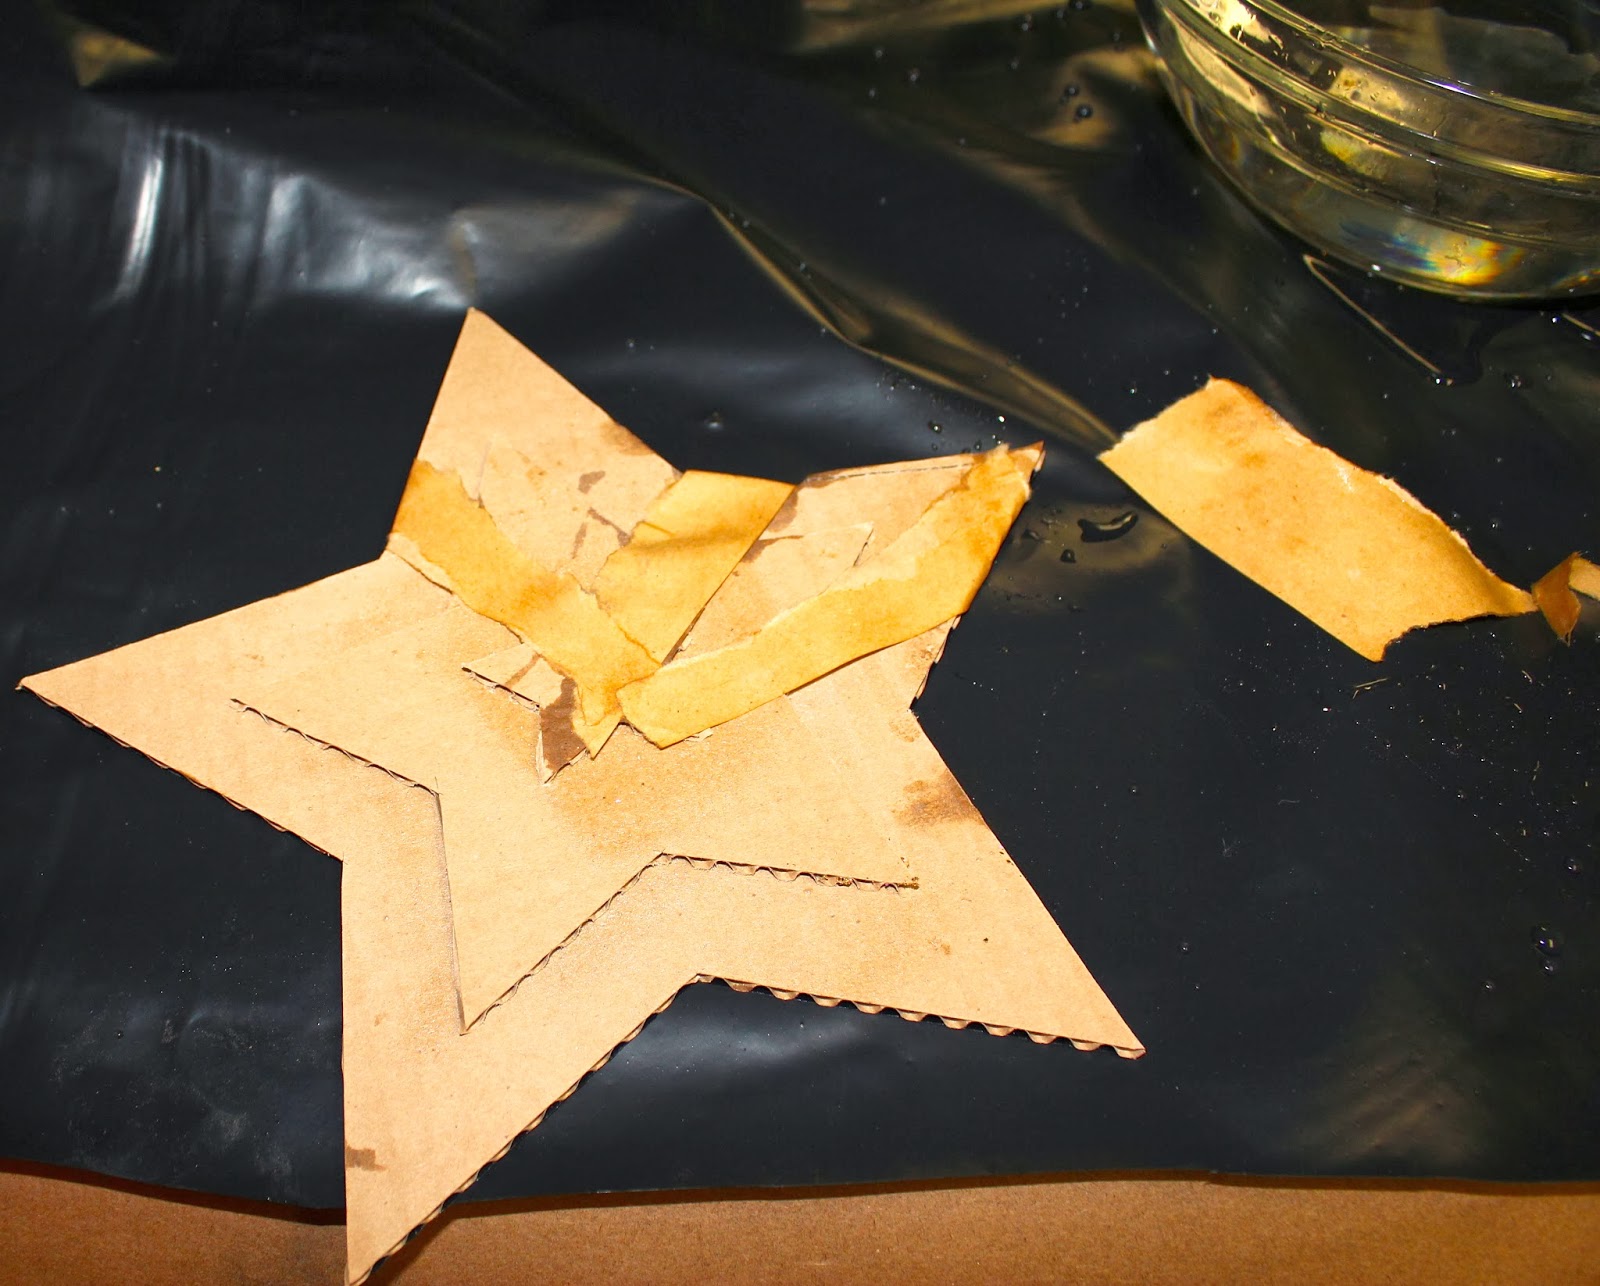
At this point, things are going about as Miss Ginger expected, and she still has great hope for the project! 
After spraying each star with gold paint and letting that dry, she marked, and then drilled, 30 holes in each star, to accommodate the 60 LED light string she bought for the project.  She used LED lights to ensure there would be no problems with the heat of incandescent lights against the paper stars.
Now is when the concerns started popping up! Miss G was thinking that the holes would be snug enough to hold the bulbs in place as she popped them in from the backside, but with the stiffness of the electrical wires working against her, she realized she was going to need something to hold them in place.  Hot glue to the rescue! 
From the front, things were starting to look like a hot mess! She realized she should have measured the spacing of the holes better, and was concerned because the bulbs did not all stay as perpendicular to the surface as she would have liked, but there was no going back at this point! 
The wires turned out to be much more problematic than expected, so Miss G glued them down as much as she could to try and keep them out of her way.  With the wire mess rearing its ugly head, Miss Ginger was beginning to think this whole project was going to be an epic failure! She originally planned to hold the 2 sides together with more paper tape, but she quickly realized that there was no way that paper tape was going to corral all of this mess and hold the 2 sides together! 
As Miss G steeled herself for the challenge with a glass of vino, the answer became apparent!  She needed something lightweight and solid to connect the 2 sides, and wine corks turned out to be the perfect answer! After hunting down 5 that were the same size, she screwed one into each "armpit" of the first star, adding a blob of hot glue between the cork and the star for extra stability. 
With confidence bolstered, Miss G eased the other star into place and connected it to the corks in the same manner. The star was turning out way thicker than she originally visualized, because there was no way to smush the wires down any more than they were.  Miss Ginger found that this turned out to be a happy accident as she soldiered on. 
As luck would have it, the corks were as tall as her tape was wide, so it was easy to seal the sides up using more tape! She needed a more structural adhesive than what was on the tape, so instead of wetting it, she used hot glue to attach it all around the edge. 
At the bottom, she drilled a small hole in the cork crosspiece to hold a stiff wire that will hold the star in place, and routed the cord here, as well. 
So, here is her big, fat, star, looking sad and ugly. But she had gone this far, so Miss Ginger sallied forth and began her favorite process: glittering! 
After glittering the edges in gold, Miss G glittered the front and back with a few different shades of gold, to give a radiating effect.  Because the star rests in the bulbs, she was able to flip it over and do the other side immediately. 
So there it shines in all it's glory, looking festive, shiny, and not too bad, if Miss Ginger does say so herself! 

LinkWithin

Related Posts with Thumbnails