The FABULOUS Miss Ginger Grant!

The FABULOUS Miss Ginger Grant!
Click here to dig through my stuff!

Miss Ginger's FABULOUS Things!

NEW!!! Visit my online store for your chance to buy all things Ginger!

Search Miss Ginger's FABULOUS World!

Custom Search

Translate

Showing posts with label glass cutting. Show all posts

Tuesday, February 19, 2013

Wine Bottle Apothecary Jars

Here's another great wine bottle craft, and it's also a great way to use up some wood scraps. They could also be decorated, etched or otherwise embellished to make a truly personal gift! 

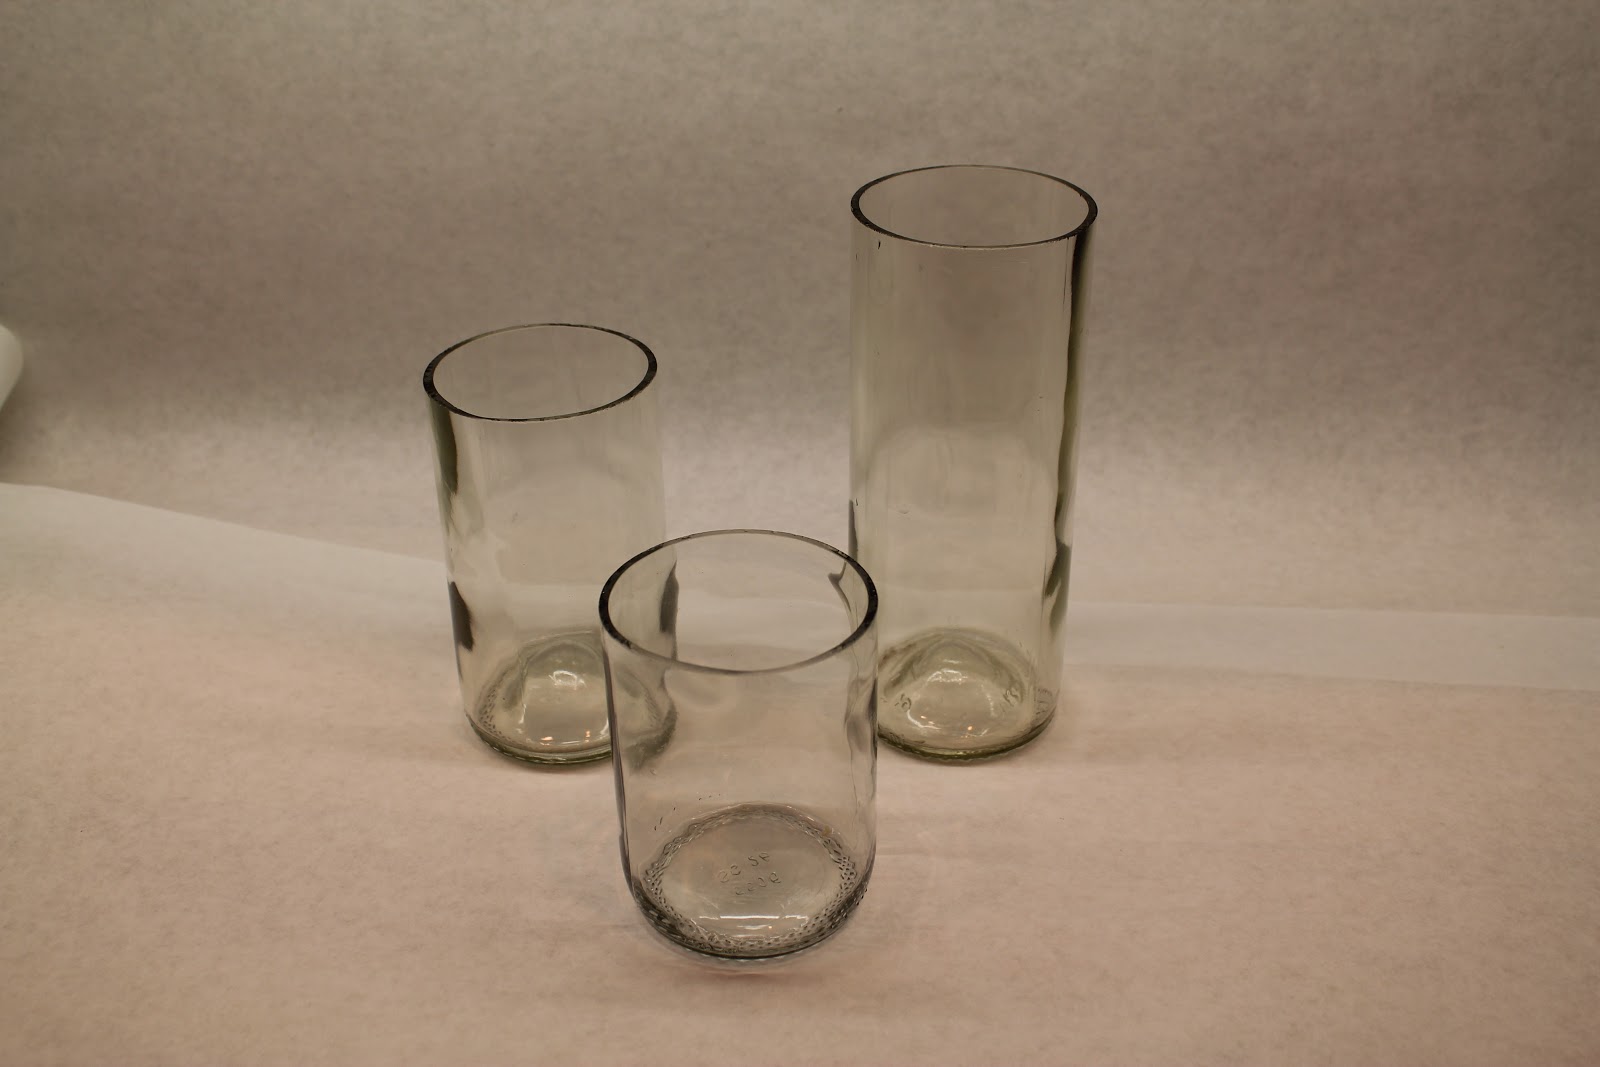
Start by selecting your bottles and cutting them down to your desired size.  Use a piece of emery paper to soften the sharp edges.

To make the lid, use a scrap of solid wood (this is poplar) and a hole saw fitted to an electric drill.  If you have access to a drill press, it's a bit easier to control, but any drill will work.  You'll need 2 hole saws, one a bit bigger than the outside diameter of your bottle, and one the exact size of your bottle.  Miss Ginger used a 3- 5/8" and a 2-3/4".  Start with the larger saw, and cut into the wood just far enough to mark your circle. Don't cut all the way through the wood yet, but it's okay if the pilot bit goes all the way through.


Next, switch to the smaller saw, and center the blade by guiding the pilot bit in the center of the blade into the center hole. Cut a slot about halfway through the wood; this will sit over the rim of your bottle.  If you can't find a saw the exact diameter, or if the glass is thick, you may need to use 2 consecutive sizes of saw to make this channel wide enough to fit the bottle.

Once the channel is cut, return to the largest blade, center the pilot bit, and cut the lid all the way through.  If you are making multiple lids,  perform all the cuts with each blade in sequence, to avoid changing the blade every time!

Sand the lids down, spray with a clear polyurethane, and add a decorative knob to the top. Now your jars are ready to fill with special treasure for yourself or as a thoughtful gift! 

Sunday, February 10, 2013

Upcycled Fragrance Warmer

Anyone who lives in an older home like Chez Ginger knows that they can have a certain "nasal patina" that just comes with the territory. And anyone who has a kitty like Miss Shelby knows that they come with their own set of odors, as well. So Miss Ginger is quite experienced with the many gizmos and gadgets designed to fragrance the home. They can be quite expensive, if not initially, then long term as their liquids, oils, and nonesuch have to be replaced.

Here's an upcycle that gives your home the scent of fresh laundry, using castaway glass bottles and an inexpensive "filler" to be revealed later.


You'll need some empty "longneck" beer bottles, or other bottles of a similar diameter, and some empty wine bottles.  You'll also need a bottle cutter, and a "dremel" tool with a diamond wheel cut-off blade.
Be sure your wine bottles have a nice, deep "punt" on the bottom of them. You'll see why this is important in a minute.
Cut your beer bottles below the neck but above the label.  Miss Ginger leaves the label in place, because she uses it as a cutting guide, and removes it later, but you don't have to.  Cut the wine bottles about half an inch or so from the bottom, so you are left with pieces that look like little glass sombreros. 
Next, use the diamond-wheeled saw to carefully cut around the small label on the back. You are literally going to cut the label off, glass and all.  Start by gently guiding the wheel along one side of the label to create a scratch.  Put a drop of cutting oil (it comes with the blade) onto the scratch (the scratch keeps the oil from rolling off) and continue to cut along the line until you have ground all the way through. Once you have cut all four sides of the label it will drop through. It may take a little practice to learn the best way to cut the label away, and beer bottles are made of very cheap glass, so you may break a few before you get the hang of it. Be sure to wear gloves and goggles for this part!

If all goes well, it will look like this.  On the other side of the bottle, cut a smaller hole, or a series of slits, or some other shape to allow air to flow through.
Often, the glass will break at the top of the 2 vertical cuts, like you see here. As long as there are no other cracks in the glass, this is okay... you really won't see it once everything is set up.
Once everything is cut, use emery cloth or a diamond bit to remove any sharp edges, peel any remaining labels off, and give everything a good wash. (Bonus tip:  WD-40 is a cheap and effective product to remove just about any kind of adhesive residue, and it's cheaper than those "goo" products you buy just for that purpose. But it stinks, so use it outside!)  Flip the "sombrero" over, place it on top, and you're ready to load!

Here's the secret ingredient: Downy Unstoppables Fabric Softener. This exact brand is actually made up of little wax pellets impregnated with fragrance that are supposed to go into your washer.  Miss Ginger has not used it for that purpose, since it really doesn't seem like it would be good for your washer, the drain, or your clothes, but hey, who is she to judge?!
Fill the little sombrero with pellets, drop in a candle, light it, and wait a few minutes.  The candle will warm the pellets until they melt, releasing the fragrance of fresh washed laundry for hours!  The fragrance lasts through many lightings, even if the pool of pellet juice cools and hardens; just put in a new candle and remelt it!

DISCLAIMERS: Use common sense when burning any candle!!
DO NOT leave any burning candle unsupervised!
Place on a non-flammable surface.
Ensure a safe distance from curtains, fabrics, paper, etc.
Keep away from children and pets.
Do not move the unit until the candle is extinguished and the wax has hardened.

The maker of Downy Fabric Softener make no claims for the suitability of their product for this purpose. Use at your own risk.

But trust Miss Ginger:  it smells WONDERFUL!  Make one for every room and it's like a whole house full of "clean sheet night!"


Wednesday, January 30, 2013

"Deconstructing" Bottles

Miss Ginger finds the most clever "up-cycles" to be ones where the original material is hard to identify.  She loves when people say to her "what in the world did you use to make that?!"  Often, materials can be totally deconstructed, and used to create something entirely different.  Case in point:  glass bottles.

The potential for bottle parts goes beyond cutting the top off to make a "glass".  If you take that glass and cut the bottom off, you now have a glass "tube".  Cut the tube in sections, and you have "rings".  The possibilities are endless!

All of that cutting is impossible to do with the ineffective "acetone and string" method, and really tedious with a G2 cutter. This job calls for power tools!  

You could rent a big tile saw at the local tool rental, but honestly, this great little saw from Lowe's will cut glass like butter, and only takes up about a square foot of storage space.  Plus, it's only $89 bucks.... I'm not sure you could rent one for less!

Disclaimer: this product is not designed to cut glass.  Miss Ginger Grant, her affiliates, friends, fans, and acquaintances make no claims for the worthiness of this product for the task at hand. Proceed at your own risk!

That said, Miss Ginger has cut many, many bottles with hers, and has cut herself never.  The blade is rough, not sharp, and it has no teeth, so even if you were to accidentally brush against it, you'd get an abrasion, not a cut.  Still, one should wear gloves, and definitely protective eyewear, when working with any power tool.  And earplugs. It's a tad noisy.

Also, you will definitely want to work outdoors, and cover nearby surfaces with plastic sheeting.  The saw uses water to keep the blade and bottle cool, and it slings quite a bit of water mixed with super-fine glass dust that will leave a white film anywhere it dries. 

Using the tile saw, Miss Ginger was able to rip a huge pile of S. Pellegrino bottles into these components:


The top of the bottle creates a little funnel.  She has several ideas for how to use those. The middle row, the 3 "tiles", are what she will use first, to create an outdoor chandelier for an upcoming post.  She also saved the round bottoms, and is tossing around several ideas for those, as well.

Keep watching, dear GingerSnaps, for the Deconstructed Bottle Chandelier!


LinkWithin

Related Posts with Thumbnails