The FABULOUS Miss Ginger Grant!

The FABULOUS Miss Ginger Grant!
Click here to dig through my stuff!

Miss Ginger's FABULOUS Things!

NEW!!! Visit my online store for your chance to buy all things Ginger!

Search Miss Ginger's FABULOUS World!

Custom Search

Translate

Wednesday, March 13, 2013

Upcycled Bottle Chandelier

Okay, maybe "chandelier" is a bit grand, considering that nothing really dangles, but "Upcycled Sculptural Light Fixture" seemed like an awkward title...

Anyho, Miss Ginger is pretty proud of this one! She's had the idea rattling around in her mind for a while, and finally had the holy trinity of idea, materials, and time come together.

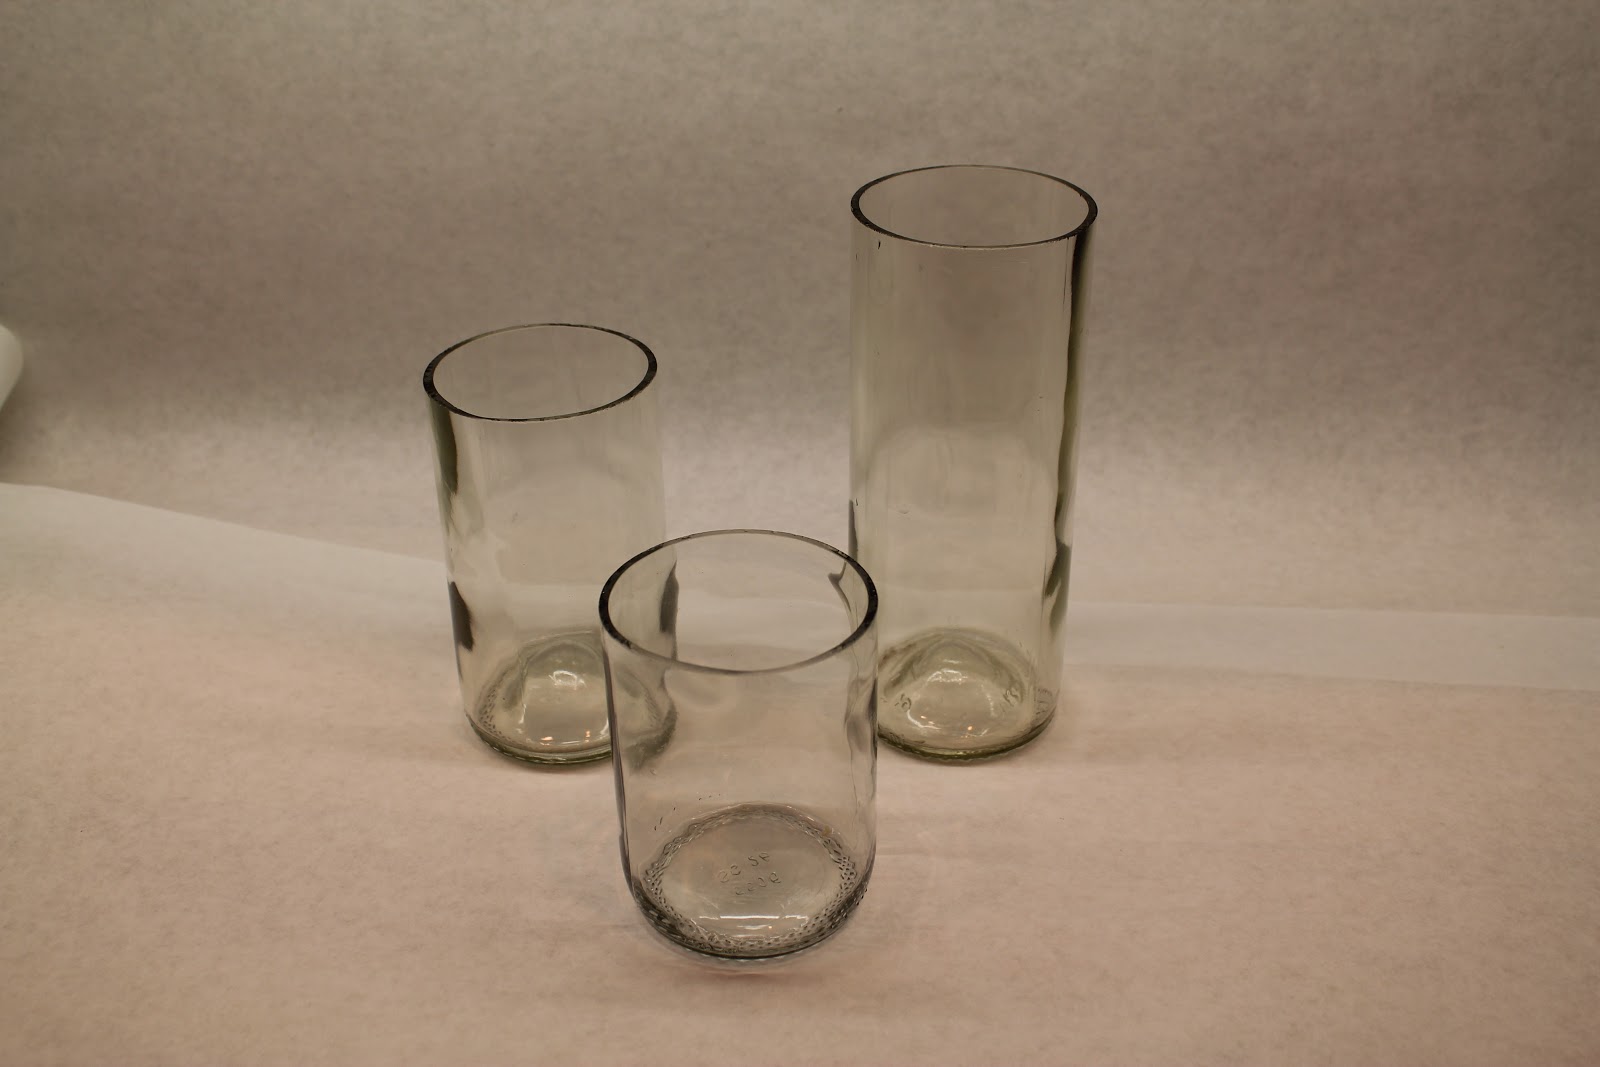
It's easy to find a million ways to upcyle the bottoms of glass bottles, as they can be turned into all sorts of glasses, candleholders, or other vessels. The tops, however, are more problematic.  Miss Ginger saved them at first simply because she was determined to keep them out of the waste stream, but she initially had no idea what to do with them.  The world only needs so many wind chimes. After making  plethora of glasses and candleholders, the suckers were beginning to pile up!

The trick to this upcycle is getting the correct adhesive. Glass is slick and non-porous, so sticking it together can be tricky. Not only does the adhesive have to hold the glass pieces together, invisibly, it also has to hold them solidly enough to support the weight of the structure. Glass is heavy! Superglue, hot glue, white glue, construction adhesive- all fail on some part of the test or another.

Epoxy is the only adhesive that will successfully adhere glass and support it's weight. Most epoxies are a pain in the ass to use, as they require mixing in just the right proportions.  Loctite Instant Mix 5-minute Epoxy is the perfect combination of strength and open time for this project, and is readily available at Lowes or Home Depot. Plus, it comes with a self-mixing syringe thingy that dispenses the adhesive and the hardener in just the right proportions! And, it dries to a transparent "yellowish clear" that totally disappears on green bottles!
Because glass is so slick, even epoxy can't reliably stick to the smooth surface.  To solve that problem, Miss G used a rotary tool with a diamond burr to scuff up the glass everywhere there was a joint. 
The first "layer" was pretty straightforward, with a healthy dab of epoxy at each side joint, and again where the necks touched.  The epoxy dries to full strength overnight, but it only takes about 20 minutes for it to harden solidly enough to continue with the next layer.
Adding the subsequent layers was only a little bit tricky due to the angles of the bottles. Miss Ginger used a Sharpie to mark the points where the bottles touched, dry fitting, marking, scuffing, and gluing each bottle one at a time.  It sounds tedious but it really went quickly. 

As the angle became steeper on the 3rd and 4th layers, Miss G used clamps to hold the bottles in place until the epoxy had set enough to hold on its own.  After 4 layers were glued up in this manner, Miss Ginger let the epoxy set overnight before she tried to move  or turn the structure.
The next day, Miss Ginger flipped the entire thing over and added one last layer to the other side of the initial layer.  This will form the top of the fixture, so she added a chain circle around the neck of every 4th bottle, to distribute the weight when the fixture hangs. She wanted to use the fixture outdoors, so she bought a weatherproof floodlamp holder  and used binder rings to center it on the chain, just above the bottles, so the light would catch the neck of the bottles as it shines down. 
Around this, she added a glass tile  to conceal the "inner workings".
Miss Ginger is a strong girl, but she needed help to hoist this sucker into position- it weighs a ton, and it's awkward to hold.  If you use it indoors, you will need to make sure to hang it from a large eye-bolt screwed directly into a ceiling joist.  Outdoors, just loop a chain around a strong tree-branch, or hang it from an eave or soffit.

Miss Ginger loves it so much she's going to make another so she'll have a pair!

Monday, March 11, 2013

Glass Bottle Windchimes

Here's a quick and easy project that makes use of some of the bottle parts you may have laying around from other old projects!  You'll need 3 sizes of bottle tops and a bottle bottom (this is a magnum, a standard wine bottle, and a beer bottle. Don't judge!)  You'll also need a length of clock chain or other lightweight chain, a large washer, and some cotter pins- all available in the hardware aisle at Lowe's.


Using a diamond hole saw on a dremel tool, drill holes through the neck of each bottle near the end. It sounds intimidating, but drilling with one of these little bits is quick and easy- just remember to use the cutting oil that comes with the bit to preserve it's life.


Make the clapper for the smallest bottle by replacing a link of the chain with a large washer.  It's easy to open and close the links of chains with a couple of pairs of pliers.


Pass the chain through the neck of the smallest bottle, leaving enough chain on each side to center the washer in the middle of the bottle without touching the sides. Insert a large cotter pin through the bottle and the chain, coming out of on the other side of the bottle. use pliers to turn the legs of the pin back, and clip them close to the bottle.


Add the next 2 bottles in the same fashion, omitting the washer, since the bottles themselves will form the clappers. Add the bottle bottom to the bottom of the chain to catch the wind; if breezes in your area are light, replace the bottle bottom with a diamond shape piece of wood, about 5" by 5", to catch more wind.


Now just hang it in a breezy spot and enjoy!


Sunday, March 10, 2013

Overdue Post: 50th Birthday Bash

This post is long overdue, but Miss Ginger and the local 'snaps did survive the 50th birthday celebration in New Orleans!  Here's what you missed:


Miss Ginger arrived to a bucket of champagne waiting in her room- what a great surprise! You see it on TV all the time, but it's never happened to Miss Ginger!  If you ever want to make someone's day's day- make it happen! Many thanks to my dear friends at Legacy Community Health Services for making a fantasy come to life!

First to arrive for the weekend were Boy G's brothers, who came from as far as Albuquerque to join the celebration.  I think both brothers were relieved to learn that Boy G had left Miss Ginger's drunk ass at home!


Ms. Sonna had planned the whole shindig, including selecting a FABULOUS suite at the Bourbon Orleans for the venue!  The bedroom was upstairs out of the way, and the living room and balcony overlooking Orleans Street was more than enough room for the catering and festivities.  She and Kaylynn also corroborated on a "This is Your Life" video, and Boy G is STILL wondering where she got some of those photos!  It was a touching tribute, as was the presence of friends and family from around the US who flew and drove from all over to join the party!  


Since that night, Miss Ginger has been keeping a close eye on her "check liver" light!  Whoever said that "50 is the new 40" has clearly lived a much cleaner life than Miss Ginger!  But start planning now, folks: if Miss Ginger can still draw a breath on her own, we'll repeat it in 2023 for her 60th birthday, and, hopefully, retirement party!


Tuesday, February 19, 2013

Wine Bottle Apothecary Jars

Here's another great wine bottle craft, and it's also a great way to use up some wood scraps. They could also be decorated, etched or otherwise embellished to make a truly personal gift! 

Start by selecting your bottles and cutting them down to your desired size.  Use a piece of emery paper to soften the sharp edges.

To make the lid, use a scrap of solid wood (this is poplar) and a hole saw fitted to an electric drill.  If you have access to a drill press, it's a bit easier to control, but any drill will work.  You'll need 2 hole saws, one a bit bigger than the outside diameter of your bottle, and one the exact size of your bottle.  Miss Ginger used a 3- 5/8" and a 2-3/4".  Start with the larger saw, and cut into the wood just far enough to mark your circle. Don't cut all the way through the wood yet, but it's okay if the pilot bit goes all the way through.


Next, switch to the smaller saw, and center the blade by guiding the pilot bit in the center of the blade into the center hole. Cut a slot about halfway through the wood; this will sit over the rim of your bottle.  If you can't find a saw the exact diameter, or if the glass is thick, you may need to use 2 consecutive sizes of saw to make this channel wide enough to fit the bottle.

Once the channel is cut, return to the largest blade, center the pilot bit, and cut the lid all the way through.  If you are making multiple lids,  perform all the cuts with each blade in sequence, to avoid changing the blade every time!

Sand the lids down, spray with a clear polyurethane, and add a decorative knob to the top. Now your jars are ready to fill with special treasure for yourself or as a thoughtful gift! 

It's Almost Here!

It's almost here!  The party of the (half) century! You don't have to miss it... almost every major airline serves Louis Armstrong International Airport!  You may even be able to find a last-minut deal!  Can't wait to see who's coming to celebrate!

Sunday, February 10, 2013

Upcycled Fragrance Warmer

Anyone who lives in an older home like Chez Ginger knows that they can have a certain "nasal patina" that just comes with the territory. And anyone who has a kitty like Miss Shelby knows that they come with their own set of odors, as well. So Miss Ginger is quite experienced with the many gizmos and gadgets designed to fragrance the home. They can be quite expensive, if not initially, then long term as their liquids, oils, and nonesuch have to be replaced.

Here's an upcycle that gives your home the scent of fresh laundry, using castaway glass bottles and an inexpensive "filler" to be revealed later.


You'll need some empty "longneck" beer bottles, or other bottles of a similar diameter, and some empty wine bottles.  You'll also need a bottle cutter, and a "dremel" tool with a diamond wheel cut-off blade.
Be sure your wine bottles have a nice, deep "punt" on the bottom of them. You'll see why this is important in a minute.
Cut your beer bottles below the neck but above the label.  Miss Ginger leaves the label in place, because she uses it as a cutting guide, and removes it later, but you don't have to.  Cut the wine bottles about half an inch or so from the bottom, so you are left with pieces that look like little glass sombreros. 
Next, use the diamond-wheeled saw to carefully cut around the small label on the back. You are literally going to cut the label off, glass and all.  Start by gently guiding the wheel along one side of the label to create a scratch.  Put a drop of cutting oil (it comes with the blade) onto the scratch (the scratch keeps the oil from rolling off) and continue to cut along the line until you have ground all the way through. Once you have cut all four sides of the label it will drop through. It may take a little practice to learn the best way to cut the label away, and beer bottles are made of very cheap glass, so you may break a few before you get the hang of it. Be sure to wear gloves and goggles for this part!

If all goes well, it will look like this.  On the other side of the bottle, cut a smaller hole, or a series of slits, or some other shape to allow air to flow through.
Often, the glass will break at the top of the 2 vertical cuts, like you see here. As long as there are no other cracks in the glass, this is okay... you really won't see it once everything is set up.
Once everything is cut, use emery cloth or a diamond bit to remove any sharp edges, peel any remaining labels off, and give everything a good wash. (Bonus tip:  WD-40 is a cheap and effective product to remove just about any kind of adhesive residue, and it's cheaper than those "goo" products you buy just for that purpose. But it stinks, so use it outside!)  Flip the "sombrero" over, place it on top, and you're ready to load!

Here's the secret ingredient: Downy Unstoppables Fabric Softener. This exact brand is actually made up of little wax pellets impregnated with fragrance that are supposed to go into your washer.  Miss Ginger has not used it for that purpose, since it really doesn't seem like it would be good for your washer, the drain, or your clothes, but hey, who is she to judge?!
Fill the little sombrero with pellets, drop in a candle, light it, and wait a few minutes.  The candle will warm the pellets until they melt, releasing the fragrance of fresh washed laundry for hours!  The fragrance lasts through many lightings, even if the pool of pellet juice cools and hardens; just put in a new candle and remelt it!

DISCLAIMERS: Use common sense when burning any candle!!
DO NOT leave any burning candle unsupervised!
Place on a non-flammable surface.
Ensure a safe distance from curtains, fabrics, paper, etc.
Keep away from children and pets.
Do not move the unit until the candle is extinguished and the wax has hardened.

The maker of Downy Fabric Softener make no claims for the suitability of their product for this purpose. Use at your own risk.

But trust Miss Ginger:  it smells WONDERFUL!  Make one for every room and it's like a whole house full of "clean sheet night!"


LinkWithin

Related Posts with Thumbnails